I accidentally deleted important files from my Mac Downloads folder and didn’t realize it until later. I’ve already checked the Trash, but the files aren’t there, and I really need them back for work. Are there any safe ways to recover deleted downloads on a Mac without making things worse?
I still wouldn’t write the files off.
Emptying Trash kills the easy restore path, sure. It does not mean the bits vanished on the spot. A lot of the time, the data sits there until macOS writes over those blocks. The catch is SSD storage on newer Macs. SSDs tend to purge deleted data faster than old spinning drives, so the clock feels shorter.
First thing I’d do, and I mean right away, stop using the Mac. Don’t install apps. Don’t download random stuff. Don’t edit big files. Skip updates for now. Every new write lowers your odds.
Before you throw recovery software at it, I’d go through the built-in stuff in macOS first.
1. Check Time Machine
If Time Machine was on before the delete, this is usually the cleanest fix I’ve seen.
- Open the folder where the file used to live.
- Start Time Machine.
- Go back to a backup from before the delete happened.
- Pick the file and restore it.
When this works, it’s the least messy option. You usually get the original filename, folder, and file details back without weird recovery names.
2. Check APFS snapshots
This one gets missed a lot. Even if you never plugged in a Time Machine drive, macOS often makes local APFS snapshots before updates and some system changes. I’ve seen people pull files back from those when they thought they had no backup at all.
Open Disk Utility. Click your system volume. See if snapshots exist from before the deletion date. If you find one, you might be able to mount it and copy the missing files out by hand.
3. Try recovery software
If backups and snapshots come up empty, then I’d move to recovery software. I’ve had decent luck starting with Disk Drill. It rolls a few scan methods into one pass, works with current macOS versions, and lets you preview files before you recover them. For me, the preview part matters most. If a file opens in preview, your odds are usually better.
A few rules I’d stick to:
- Put the recovery app on another drive if you have one.
- Save recovered files to a different drive, not back onto the Mac you’re scanning.
- Check previews closely. If the preview is broken, the recovered file often ends up broken too.
4. Know when to stop and use a recovery lab
Most deletes don’t need a lab. I’d only go there if one of these is true:
- The files matter enough that you don’t want to risk failed home attempts.
- The drive is acting off, noises, disconnects, read errors, or it disappears from macOS.
- The Mac had liquid contact, a power hit, or some other physical damage.
- Recovery software won’t finish a scan, or it can’t read the drive at all.
A decent lab has tools you won’t get at home, especially with damaged hardware. Price is the ugly part. It often starts in the hundreds and climbs fast.
One part people get wrong all the time, there is no safe recovery window. You don’t get a guaranteed few days. What matters is whether the deleted data got overwritten, or wiped by TRIM. So the people I’ve seen do well with this are the ones who stop using the Mac immediatley and check backups or scan the drive right away.
If it were my machine, I’d go in this order: Time Machine, then APFS snapshots, then a recovery scan. Most successful Mac recoveries I’ve seen came from one of those three paths.

5 Likes
If Trash is empty, I’d also check places people forget.
Look in Downloads through Spotlight with the exact filename, then search by file type in Finder. Sometimes the file got moved, not deleted. Check iCloud Drive, Desktop, Documents sync folders, and any work cloud app like OneDrive, Dropbox, or Google Drive. Many of them keep deleted files for 30 days or more in their own web trash.
I slightly disagree with @mikeappsreviewer on one point. I would not spend much time poking around snapshots in Disk Utility unless you already know your way around macOS storage. For most people, it burns time and adds confusion.
What I’d do next:
- Check the app you used to open the file. Word, Excel, Preview, Adobe apps often keep recent copies, autosaves, or temp versions.
- Check email and Slack attachments if the file came from work.
- Open Terminal and look for copies with:
find ~/Downloads ~/Documents ~/Desktop -iname ‘part_of_filename’ - If the files matter, connect an external drive and run Disk Drill. Install it on the external if possble. Recover to that same external drive, not your Mac.
One more thing. On modern SSD Macs, recovery rates drop fast after deletion because of TRIM. So speed matters.
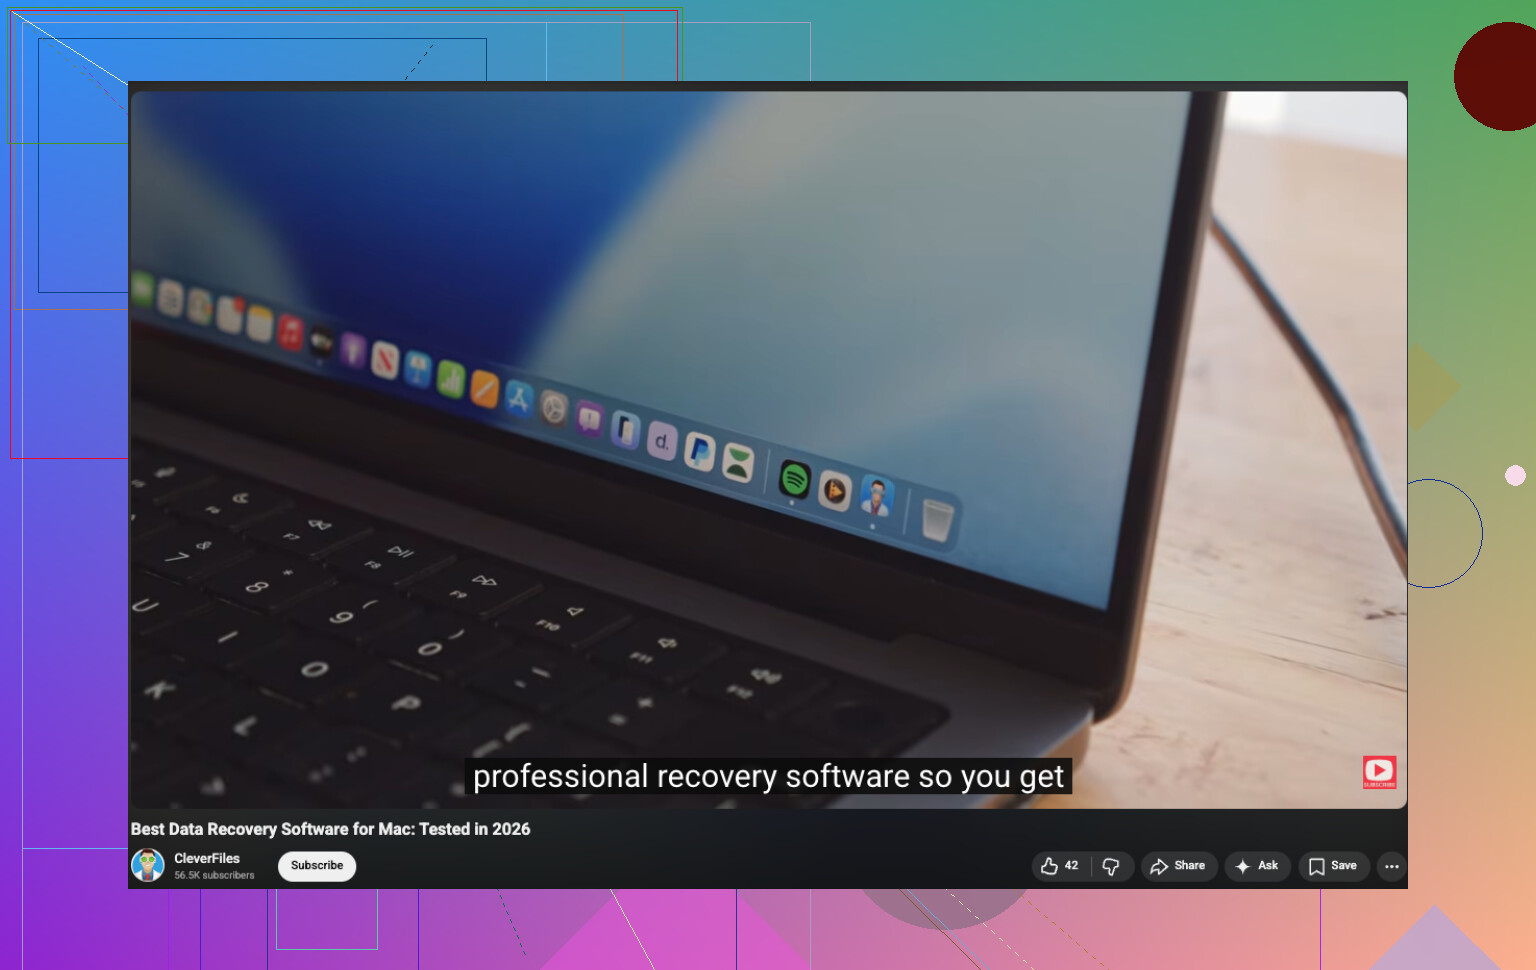
If you want a decent explainer, this video covers Mac file recovery tools in plain English:
best Mac file recovery tools explained on YouTube
I’d add one thing neither @mikeappsreviewer nor @andarilhonoturno really leaned on enough: check version history and app-level recovery, not just file-system recovery.
If the deleted file was a work doc, spreadsheet, PDF, or project file, sometimes the “real” save path wasn’t Downloads at all. Apps like Pages, Word, Excel, Photoshop, Preview, and even some browser download managers keep temporary copies, autosave caches, or recent-item references. On a Mac, you can also check:
- Finder > Recents
- The app’s Open Recent menu
- AutoRecovery folders for Office
- Browser download history in Safari/Chrome/Firefox
/private/var/folders/for temp junk if you know what you’re doing
I slightly disagree with the “scan ASAP no matter what” vibe. If this is a newer Mac with internal SSD + TRIM, DIY recovery from deleted files can already be iffy. In that case, wasting hours doing random scans on the same machine can be kinda pointless. If the files are truly job-critical, use another Mac to make decisions, and avoid poking the drive more than necessary.
If you do go software route, Disk Drill is the obvious Mac choice becuase it previews recoverable files well and is less confusing than a lot of the weird nerd tools. Just don’t install it onto the same internal drive if you can help it, and recover to an external.
Also worth checking cloud/web trash:
- iCloud Drive
- OneDrive
- Dropbox
- Google Drive
- Adobe Cloud
- Slack/email attachments
For extra reading, this Reddit thread is actually relevant: MacBook deleted file recovery tips from real users
Short version:
- Stop using the Mac.
- Check app autosaves and browser download history.
- Check cloud trash/version history.
- If needed, use Disk Drill from an external setup.
- If the files are worth serious money, skip DIY and call a lab.
That’s probly the safest order without going in circles.
