I accidentally emptied the Trash on my Mac and lost important files I still need for work. I’m looking for real ways to recover deleted files on macOS, whether through built-in options, backups, or trusted recovery software. I need help figuring out what actually works before anything gets overwritten.
I’ve been through this once, and the first move is boring but important. Stop using the Mac now. Close apps. Don’t save anything. Leave it alone for a bit.
Here’s the short version. Emptying Trash on macOS usually does not erase the file data right away. The system drops the file’s index entry and marks the space as free. The data often still sits on the drive until new writes land on top of it. So if you keep using the Mac, every new browser tab, cache file, login item, or autosave raises the odds of damage. On SSD-based MacBooks, TRIM makes this worse. macOS clears deleted blocks in the background to keep the drive running cleanly, so time matters.
Check the easy recovery paths first
- Cloud storage
If the missing files lived in iCloud, Dropbox, or Google Drive, disconnect your Mac from the internet and check those services from your phone or another device. Each one keeps a deleted items area for a while, often up to 30 days. - Photos and Notes
When the missing stuff is in Apple Photos or Notes, open those apps and look in Recently Deleted. Apple usually keeps those items around for roughly 30 to 40 days. - Time Machine
If you ever turned on Time Machine, look there before doing anything else. Open it from the menu bar and go back to earlier today. Even without the backup disk connected, macOS often keeps local snapshots for about a day.
If none of those paths help, I’d move to recovery software fast.
Disk Drill tends to be the practical pick here, especially on newer Apple Silicon Macs. A lot of free tools run into a wall with Apple’s storage and encryption setup, and I learned this the hard way.
How I’d handle Disk Drill
- Do not install it on the MacBook’s internal drive
This part matters most. Download it from another computer, copy it to a USB flash drive, and run it from there. Installing software onto the same drive you’re trying to recover from risks overwriting the files you want back. - Make a full disk image first
Before scanning, create a byte-for-byte image of the Mac’s drive and save it to an external disk. I know this feels like an extra step, but it saves you from poking the original drive over and over. If the first scan misses something, you scan the image again instead of stressing the Mac’s storage more. - Scan the disk image, not the live drive
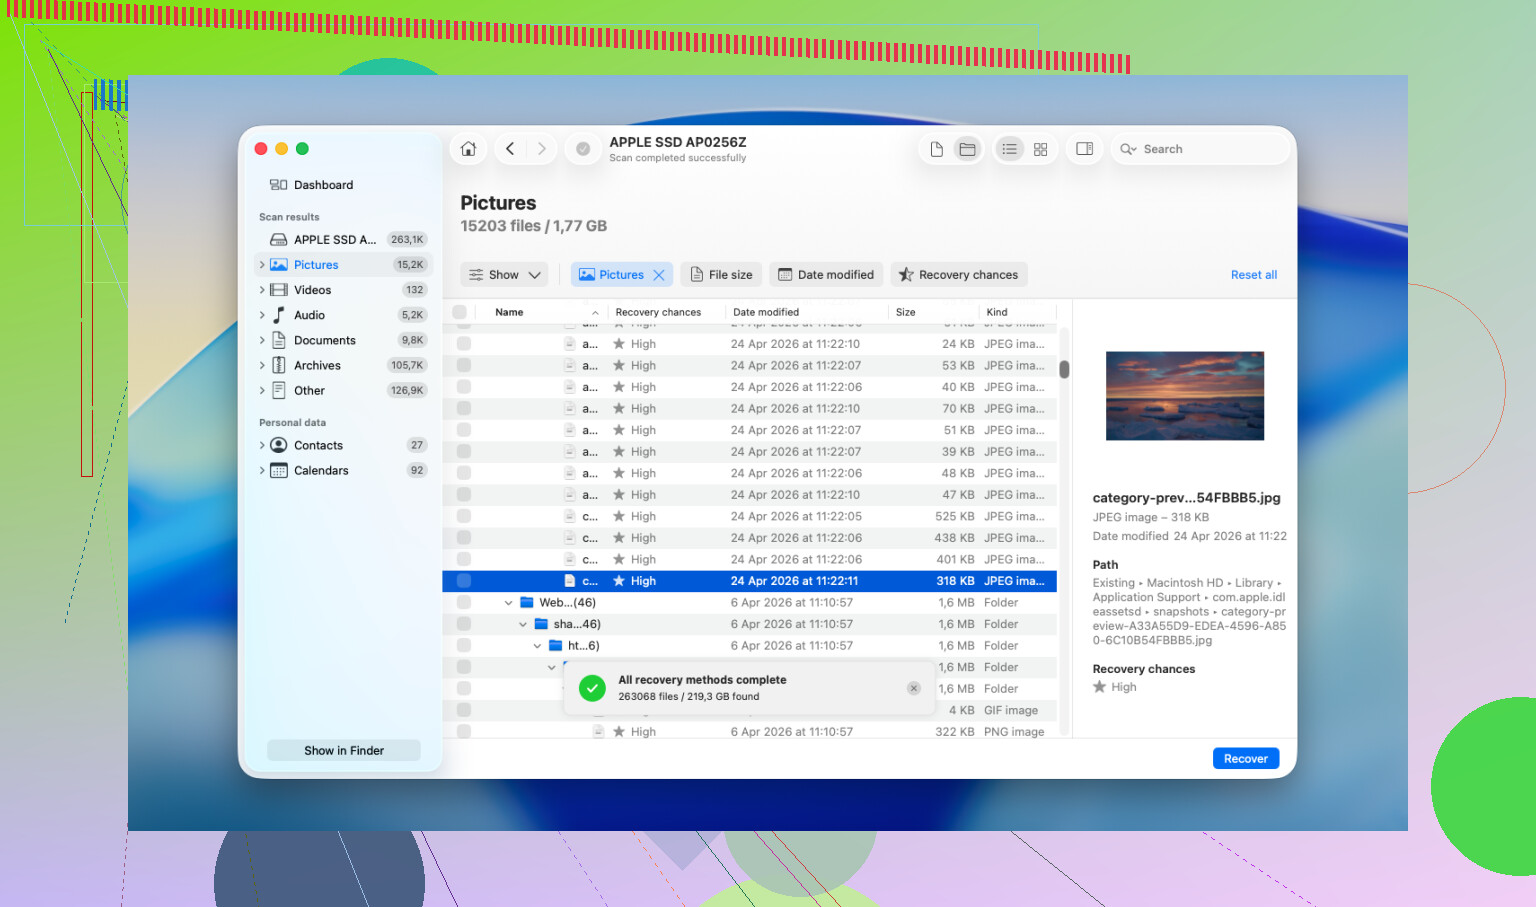
Point Disk Drill at the image you made and let it finish. On a large SSD this takes a while. Leave it running. - Look at the previews before paying
One thing I liked here, the scan shows previews of recoverable files before you buy anything. Photos, docs, some video files too. You get a decent sense of what survived and what came back broken. - Recover to external storage only
If you restore files, send them to a USB drive or external hard drive. Do not write them back to the MacBook’s internal SSD.
If software finds little or nothing
At that point, I’d stop and price out a recovery lab. Software only reaches so far. Pro shops work closer to the hardware and handle cases like this all day. Most of them offer a diagnostic first and then quote the job before moving forward. From what I’ve seen, turnaround is often a few days up to a week. Cost is the rough part. A lot of people end up in the $500 to $2,000 range, depending on the job. If the files matter more than the bill, it’s worth asking.
5 Likes
A small disagreement with @mikeappsreviewer. If your Mac uses an internal SSD, software recovery after Empty Trash often fails, not only because of overwrite risk, but because TRIM wipes freed blocks fast. So I would rank backups first, recovery apps second, labs third.
What I’d check that wasn’t mentioned yet:
-
Terminal history.
If you know the file name, run mdfind ‘filename’ in Terminal. Sometimes Spotlight metadata lingers and helps you trace copies, exports, or moved versions. -
App-specific autosaves.
Word, Excel, Pages, Photoshop, Preview, and many editors keep temp or autosave files outside Trash.
Look in:
~/Library/Containers
~/Library/Application Support
~/Library/Autosave Information -
Email and chat attachments.
For work docs, check Slack, Teams, Gmail, Outlook sent mail, and downloads on other devices. I’ve seen people “lose” a file that still existed as an attachment. -
Shared folders and version history.
OneDrive and Dropbox often keep file version history even after deletion. Different from Trash. Worth a look.
If no backup exists, Disk Drill is one of the few Mac recovery tools I’d still try. Preview results first. Recover to an external drive only. If the files are business-critical, stop tinkering and send it to a lab befor you make it worse.
Also, this is a better label than “quick Mac recovery tutorial Reel”:
Mac file recovery tips after emptying Trash

One extra angle besides what @mikeappsreviewer and @yozora already covered: check whether the files were ever opened from another app that keeps its own local cache. I’ve recovered “deleted” PDFs from PDF editors, design files from Adobe’s recent cache, and office docs from temporary lock files when the originals were gone. It’s not elegant, but work files love leaving crumbs everywhere.
A few places worth checking:
/private/var/folders/
macOS temp data lives here. Messy, but sometimes useful.~/Library/Group Containers/~/Library/Caches/- App-specific “Recent” lists that point to duplicates or synced copies
Also, if this was a work Mac, ask IT whether Desktop/Documents are being backed up silently through OneDrive, Jamf, CrashPlan, Backblaze, or another endpoint backup. A lot of people dont even know those are running.
Small disagreement with the “act super fast with recovery software” idea: on a modern internal SSD, if TRIM already did its thing, scanning immediately is not magic. It’s still worth trying, but I’d spend 10 minutes first checking hidden backups, app caches, and company sync tools. That can save hours.
If you do need software, Disk Drill is a legit Mac data recovery option and one of the few names I’d bother trying. Just recover to an external drive, not back onto the Mac.
For more discussion from actual Mac users, this thread is relevant: real-world Mac Trash recovery advice after accidentally emptying it.
Short version: hidden backups first, app caches second, Disk Drill third, lab recovery if the files are worth real money.
One thing I’d add to what @yozora, @codecrafter, and @mikeappsreviewer covered: check Quick Look cache and app recents, not just backups and temp folders.
Why? On Macs, a file you opened recently can leave behind:
- thumbnail previews
- cached PDF/image renders
- “Open Recent” references that point to a duplicate copy in another folder or synced location
Try this:
- In Finder, check Apple menu > Recent Items
- In the app you used, open File > Open Recent
- Search Finder for the file type, not just the name. Example:
kind:pdforkind:pages - Check
~/Library/Preferences/for app plist clues if you remember the app but not the save path
Small disagreement with the “lab third” ranking. If the file is truly mission-critical and lives on an internal SSD, I’d put professional recovery before repeated DIY scans. Too much poking around can make a bad situation worse, especially if you keep booting from the same drive.
About Disk Drill:
Pros
- easy Mac interface
- can preview recoverable files
- supports making a disk image first
- decent results on external drives, SD cards, and some non-TRIM situations
Cons
- on internal SSD Macs, recovery can be very limited
- deep scans take a long time
- recovered filenames/folder structure may be messy
- paid recovery is not cheap compared with some alternatives
Competitors worth knowing: Data Rescue, R-Studio, EaseUS Data Recovery Wizard. Still, if you want the most approachable option, Disk Drill is usually the first one I’d test.
If this was a work file, also inspect:
- your Mac’s Downloads folder on other user accounts
- external monitors or USB drives you used recently
- company document portals like SharePoint exports or client upload folders
A lot of “deleted forever” files turn out to be duplicate copies living somewhere boring.