My hard drive started showing bad sectors after freezing during a file transfer, and now I’m trying to recover important photos and work documents. I need help understanding how long data recovery from bad sectors usually takes and what affects the timeline, because I’m worried the drive may get worse if I wait too long.
If your drive is throwing CRC errors, freezing on folders, or locking up during reads, stop using it now.
If it is your system drive, shut the PC down. If it is external, unplug it. I learned this the hard way once. I kept retrying a copy job for an hour and the drive went from ‘annoying’ to unreadable. Keeping a weak drive powered up means the firmware keeps retrying bad reads, and Windows keeps poking it too. That extra activity does damage.
What those errors usually mean
From what I’ve seen, it tends to be one of two cases.
A soft bad sector is more like damaged data mapping or a failed write. Power loss, forced shutdowns, flaky USB bridges, stuff like that. The disk surface might still be fine.
A hard bad sector is physical damage. Bad platter area, weak head, failing mechanics. Software will not repair physical damage. At best, it marks those spots and avoids them later.
Do not start with CHKDSK
A lot of people go straight to repair tools. I would not.
CHKDSK is for making the file system usable again. It is not a recovery-first tool. If the file system is already damaged, CHKDSK might clean things up in a way that removes references to files you still wanted. I’ve seen people run it, get a ‘fixed’ volume, then realize their folders are gone or turned into fragments.
The safer move is this: clone or image the drive first. One careful read pass, copy what is still readable, then stop touching the original disk. After that, do recovery work from the clone.
What I’d do for a home recovery attempt
You need a healthy target drive with enough free space. Then create a full image, byte for byte if possible. After the image is done, scan the image, not the failing disk.
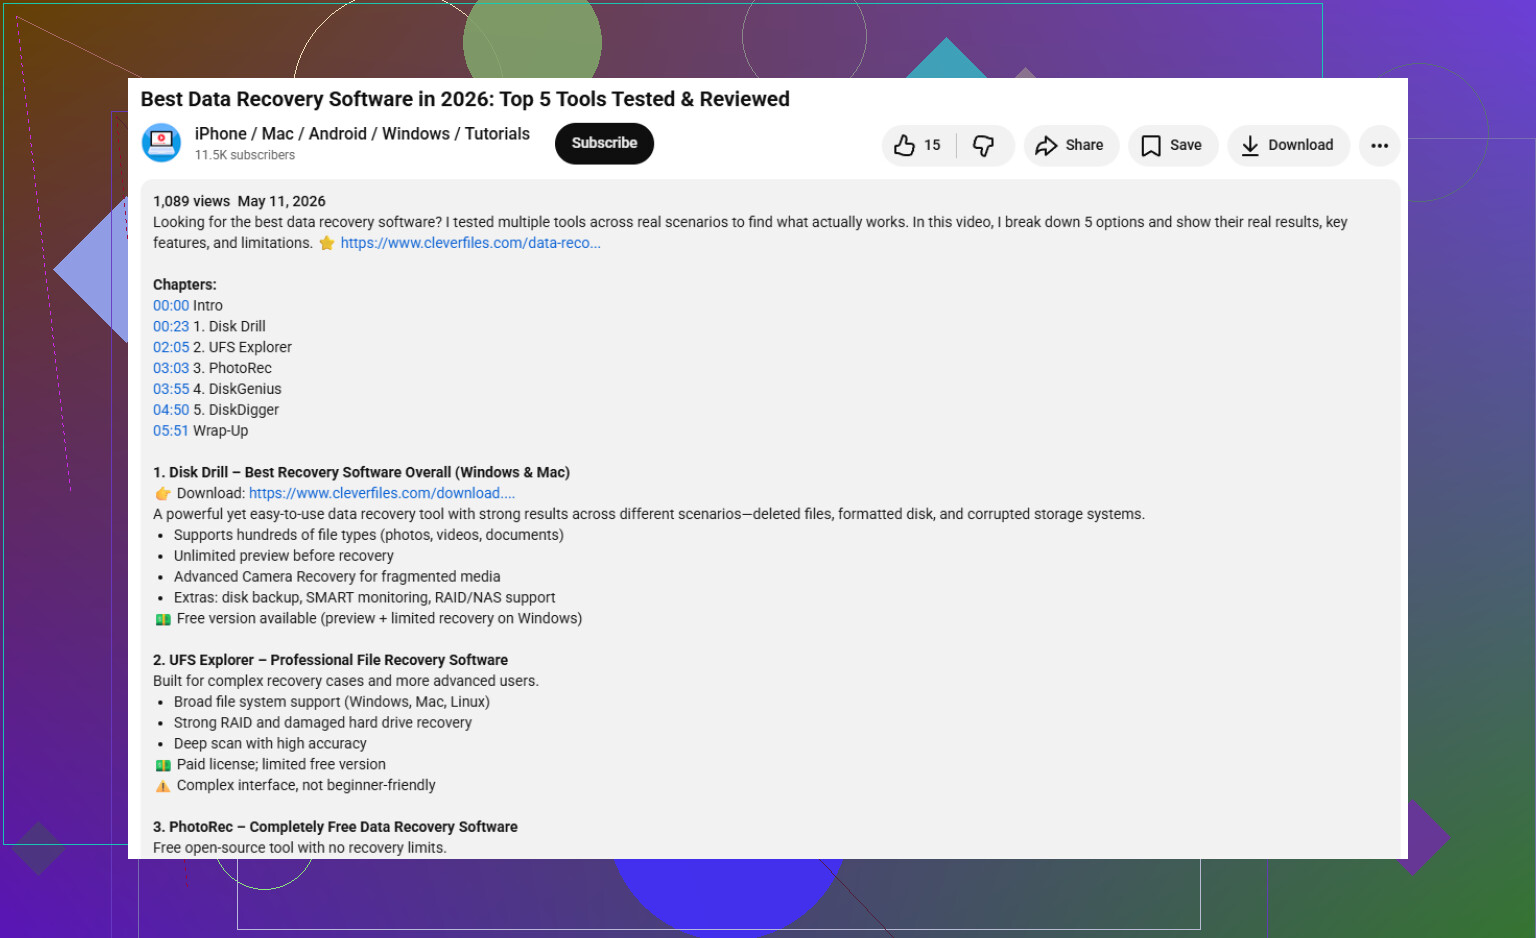
I’ve had decent results with Disk Drill for this kind of job. Most people only mention it for deleted files, but the part I cared about was imaging unstable drives. The newer build handled rough sectors better than I expected. It did not hang forever on one ugly block. It skipped ahead, grabbed easy data first, then circled back and retried tougher spots in smaller chunks. On a dying drive, that matters. Less grinding, fewer endless retries, more files recovered before the disk gives up.
The rough workflow
- Get another healthy drive with enough capacity.
- Make an image of the failing disk.
- Disconnect the bad drive once the image is finished.
- Mount or attach the image in the recovery app.
- Scan the image for files.
- Recover found files to a different drive, not the image source.
Do not restore recovered files back onto the problem disk. I know this sounds obvious, but people do it.
When DIY stops making sense
If you hear clicking, scraping, repeated spin-up attempts, beeping, or the drive does not spin at all, stop there. Software is not fixing that. Same if the BIOS stops seeing it intermittently, or the USB adapter keeps dropping it every few minutes.
At that point, a lab is the only route with decent odds. Places like Gillware or Techchef do head swaps and controlled recovery work. Expensive, yes. I’ve seen quotes from about $500 up past $3,000, depending on damage and drive type. Still, if the disk has your tax records, client files, family photos, or old projects you cannot replace, the price starts looking less insane.
After the data is safe
Once your files are copied out and you’ve opened them to confirm they’re good, then you can mess with the original drive if you still want to experiment.
A full format, not quick format, or chkdsk /r in PowerShell will mark bad areas and try to keep the system away from them. I would not trust a drive like this for anything important again. Maybe scratch storage, maybe nothing. When a drive starts doing CRC errors and read hangs, I treat it like a warning shot.
What I changed after dealing with this
Backup routine. No fancy speech, no drama. I got burned once and stopped being lazy.
Use the 3-2-1 rule:
3 copies of your data
2 different storage types
1 copy off-site or in cloud storage
It takes some setup. Still cheaper than panic, recovery software, or lab fees.
12 Likes
Time depends on 3 things. Drive size, number of weak sectors, and connection speed.
Rough timing from stuff I’ve seen:
- Light damage, 500GB to 1TB, drive still reads most files, 2 to 8 hours.
- Medium damage, lots of slow reads and freezes, 8 to 24 hours.
- Heavy damage, drive keeps stalling or disconnecting, 1 to 3 days.
- Lab recovery, 3 to 10 business days in many cases, longer if parts are needed.
If your photos and work docs matter, the big time sink is not the scan. It’s the retries on unreadable spots. A healthy 1TB HDD might read in 2 to 4 hours. A failing one doing sector retries might crawl at under 5 to 20 MB/s, or pause for minutes on one area. That’s where people lose a whole day.
I agree with @mikeappsreviewer on stopping normal use. I slightly disagree on one point though. CRC errors are not always platter damage. I’ve seen bad SATA cables and bad USB enclosures fake the same symptons. If this is an external drive, try a different cable and port before assuming the disk itself is cooked.
For DIY, Disk Drill is fine for imaging and file recovery, esp if you want the easy files first. If the drive starts clicking, drops from BIOS, or takes forever to identify, stop and send it out.
Also, this explains bad sectors on a hard drive and what they mean in plain English.
Bad sector recovery time is all over the place, but for a typical home case I’d ballpark it like this:
- a few bad spots, drive still mounts: 2 to 6 hours
- lots of slowdowns, folders freezing: 8 to 24 hours
- bad areas spread out, drive keeps timing out: 1 to 3 days
- pro lab work: usually several business days
I agree with @mikeappsreviewer about not treating the drive like normal storage anymore, but I’m a little less absolute on the “power it off instantly” part. If the data is important and the drive is still detectable, sometimes you have one decent imaging window before it gets worse. The key is no browsing, no opening random folders, no copy-paste roulette. Do one controlled recovery attempt.
Also with @techchizkid, CRC can be cable/enclosure related too, not always platter death. That part gets overlooked a lot.
What really decides the timeline is not just size. It’s how often the drive gets stuck retrying unreadable sectors. A 1TB drive can be copied pretty fast when healthy, but a failing one can crawl like an arthritic snail lol. One ugly patch can waste hours by itself.
My take: don’t focus only on “how long will recovery take,” focus on “how long can this drive stay readable.” That’s the real timer.
If you’re doing DIY, use something that can image first and then recover from the image. Disk Drill is solid for that use case because it’s pretty approachable and doesn’t require you to be a total storage nerd. Recovering photos and documents from the cloned image is way safer than hammering the original disk over and over again.
Also, if you’re comparing tools, pick data recovery software that matches your drive type, supports disk imaging, and lets you preview recoverable files before saving them. This guide to choosing the right data recovery software is a decent place to start.
One thing I’d add that hasn’t been stressed enough: check SMART before you commit to a long recovery run. If you see tons of pending or reallocated sectors climbing fast, time is probly not on your side. If the count is stable, you may have a better shot. If it starts clicking or vanishing from BIOS, stop messing with it. That’s usually where DIY turns into “well, now it’s worse.”