I’ve somehow ended up with thousands of duplicate photos on my iPhone after multiple iCloud backups, imports, and phone upgrades. It’s slowing my phone down and making it hard to find anything. Can someone walk me through, step by step, how to safely find and delete duplicate photos on an iPhone without losing important pictures, and recommend any good apps or built‑in tools for this?
Here is a simple step by step way to clean up duplicate photos on your iPhone and stop the mess from coming back.
-
Use the built in Duplicates feature
- Open Photos.
- Tap Albums at the bottom.
- Scroll down to Utilities.
- Tap Duplicates.
- You will see groups of duplicate photos and videos, already sorted.
- Tap Merge on each pair or group.
• iOS keeps the highest quality version.
• It also keeps edits and metadata when possible. - To speed it up, tap Select in the top right, then Select All, then Merge at the bottom.
If you have thousands, plug the phone into power and Wi‑Fi, leave Photos open, and let it process for a while. The Duplicates list updates as the phone analyses more items.
-
Sort out old imports and bursts
- In Photos, go to Albums.
- Check these sections under Media Types:
• Bursts
• Live Photos
• Screenshots
• Screen Recordings - Often these blow up the library.
- Open Bursts. For each burst: pick the best frame, then delete the rest.
- For Live Photos you do not need movement for, open the photo, tap Live in the top left, and switch it to Off. That reduces storage, and sometimes reduces duplicate‑like sets from edits and reimports.
-
Clear Recently Deleted to free actual space
Deleting does nothing for storage until you clear the trash.- Go to Albums.
- Scroll to Utilities.
- Tap Recently Deleted.
- Tap Select.
- Tap Delete All.
This is permanent, so check once before you wipe it.
-
Use a smart cleaner for large libraries
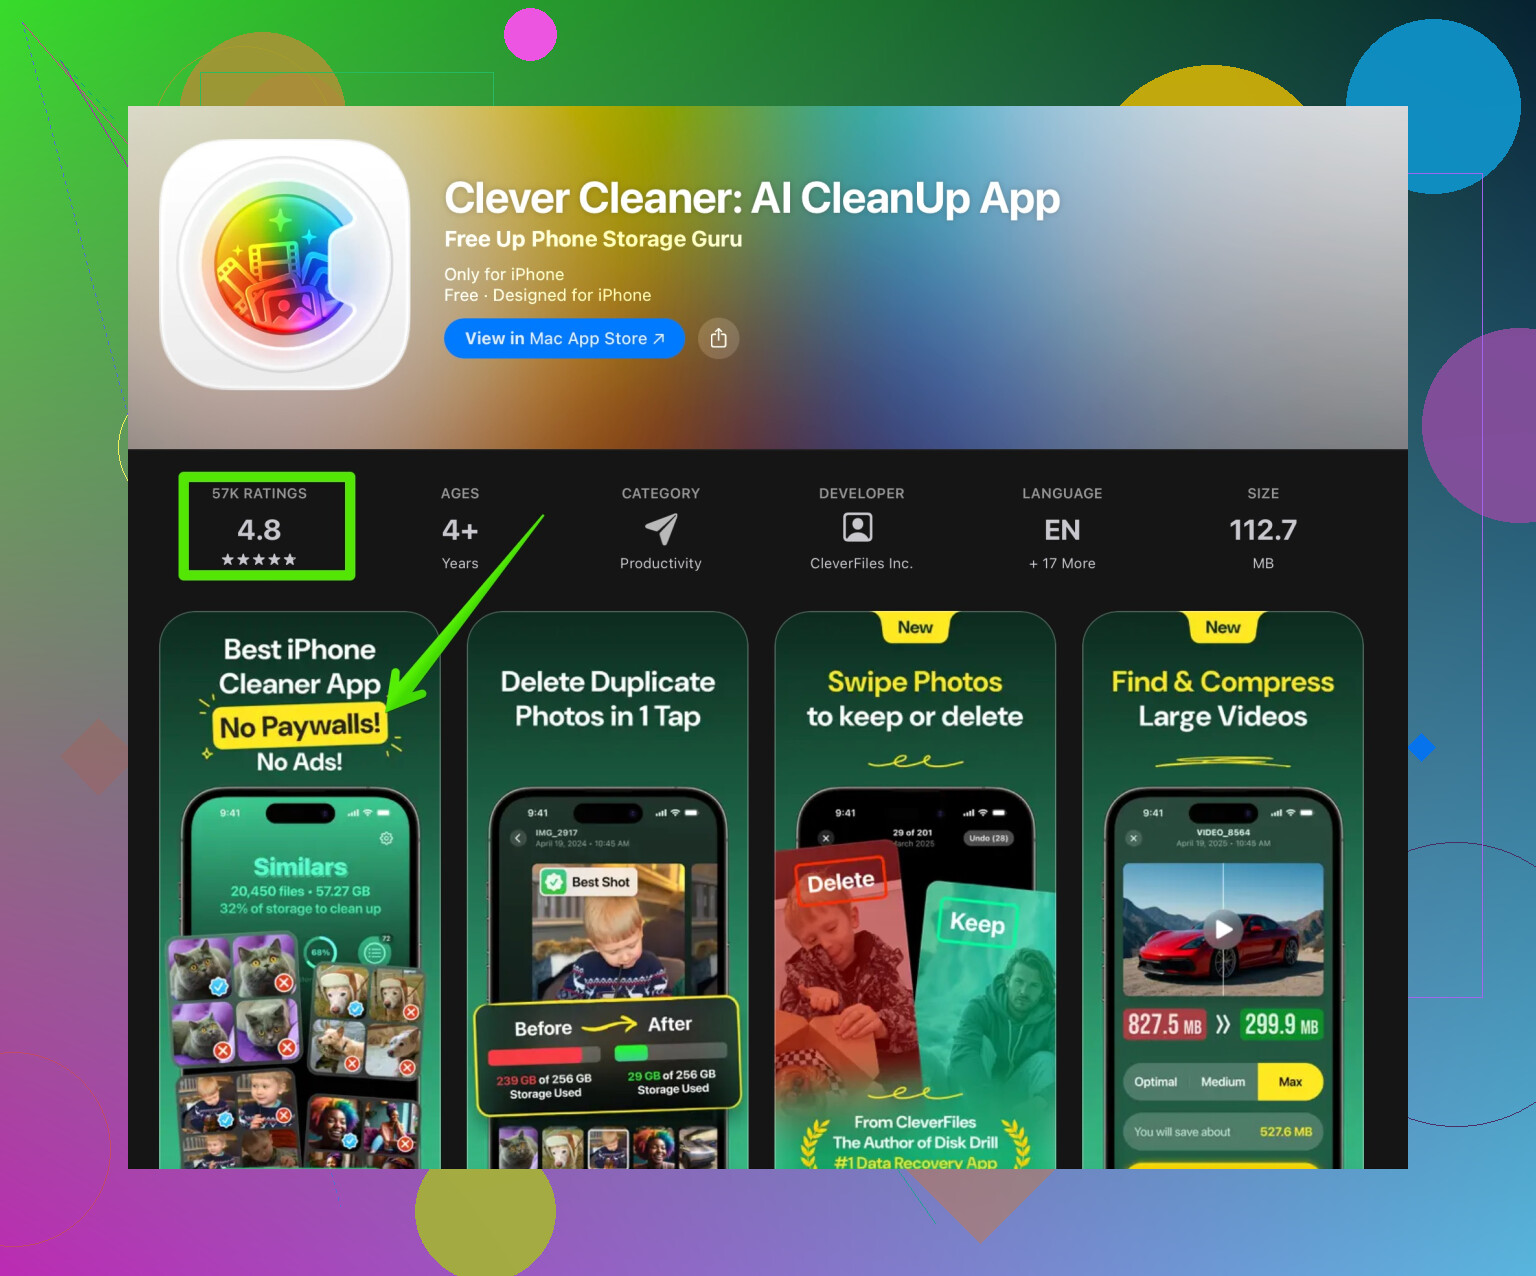
If your iCloud and backup history left you with tens of thousands of photos, the built in tool sometimes misses near duplicates. These are almost the same photo, or edits saved as new copies.Apps that use image analysis help here. One option that works well for this is the Clever Cleaner App. It scans your library for duplicate and similar shots, groups them, and lets you bulk remove the extras while keeping one best version. That includes stuff like:
• Multiple shots of the same scene.
• Slightly edited copies.
• Old exported versions from older phones.You can check it out here:
Smartly clean duplicate photos on your iPhoneTip so you do not nuke something important:
• Start with automatic suggestions, but review groups manually at first.
• Use the “similar” or “look alike” sections more carefully than exact duplicates.
• Run a quick iCloud backup before your first big cleanup run. -
Stop new duplicates from piling up
Once you clean things, fix the habits that created the clones.- On your iPhone, go to Settings.
- Tap Photos.
- Make sure iCloud Photos is on across all your Apple devices if you use it.
- Avoid importing the same photos from a Mac using cable if iCloud already syncs them.
- When you upgrade phones, sign in with your Apple ID and use iCloud Photos, instead of restoring old local photo folders manually through Finder or iTunes.
If you use third party chat or social apps that save images automatically, go into each app’s settings and disable automatic saving for stuff you do not need. Those auto saves explode your Camera Roll with repeats of memes, screenshots, and received pics.
-
Quick “weekly maintenance” idea
If your library is huge, run a short routine so you do not end up here again.
• Once a week, open Duplicates and merge new ones.
• Once a month, run Clever Cleaner App to catch near duplicates from trips or events.
• Clear Recently Deleted after each cleanup.
I did this on a 50k photo library. Duplicates alone were over 6k. After using Duplicates plus an app like Clever Cleaner, storage dropped by about 25 percent and Photos got noticeably faster when scrolling and searching. Took a few sessions, but it was manageable if you split it into chunks of 15 to 20 minutes.
5 Likes
If you’ve ended up with a Frankenstein photo library after years of iCloud restores and imports, you’re not alone. Since @shizuka already covered the obvious Duplicates album and the basic cleanup routine, here’s how I’d tackle your mess from a slightly different angle, step by step, without rehashing everything they said.
1. Start with a safety net
Before you touch anything:
- On your iPhone:
Settings > [your name] > iCloud > iCloud Backup > Back Up Now. - If you use a Mac: open Photos on the Mac and let it fully sync first, so you have a second copy of your mess.
Yeah, it’s annoying, but nothing hurts more than deleting a “duplicate” that turns out to be the only copy of something important.
2. Use Search & sorting to find entire “problem batches”
Instead of going photo by photo, attack big chunks:
- Open Photos > Search.
- Try searching by:
- Years like “2016” or “2017” where you did a phone upgrade.
- Device names like “iPhone 6”, “iPhone 11” under Albums > scroll down to “From My Mac” / “From My iPhone” etc.
- Often you’ll notice:
- A whole year appears twice.
- Trips or events are doubled because you imported them manually and also had iCloud turned on.
Once you locate a duplicated batch:
- Long-press a photo in that batch.
- Tap “Select” and drag your finger across rows to select quickly.
- Remove the extra copy of the whole group instead of hunting one by one.
This “batch kill” approach saves a ton of time compared to only relying on the Duplicates album.
3. Kill the “import loop” that creates new duplicates
This is where I slightly disagree with doing only what @shizuka suggested. Using Duplicates and then keeping all your old habits just recreates the problem.
Check these:
-
Turn off auto-import on your computer
- On Mac: open Photos > Preferences > General.
- Uncheck “Open Photos for this device” so every time you plug your iPhone in, it doesn’t try to import the same stuff again.
-
Decide: iCloud Photos or manual imports, not both
- If iCloud Photos is ON on your phone and Mac, stop dragging photos into your library manually from old folders. That’s how half the duplicate hell starts.
-
Messaging apps auto-saving
- WhatsApp, Telegram, Messenger etc. love filling your camera roll with the same memes 40 times.
- Go into each app’s settings and:
- Turn off “Save to Camera Roll” / “Save Incoming Media” unless it’s something you actually want.
4. Use a smarter duplicate finder when Apple’s tool isn’t enough
The built in Duplicates album only catches “obvious” identical files. It misses:
- Slightly edited versions
- Re-exports of old photos
- Multiple shots of the same scene that are technically different files
This is where something like the Clever Cleaner App makes sense. It uses visual similarity, not just file data, so it can group:
- Near identical selfies
- Burst-like sequences
- The same photo with tiny edits
You can grab it here:
smartly remove duplicate photos from your iPhone
Tips so you don’t regret anything later:
- Start with strict “exact duplicates” only.
- For “similar” groups, review each one manually at first.
- Always keep at least one original of anything that looks important (family events, travel, documents).
5. Clean up your structure with custom albums
Apple’s “All Photos” view becomes useless with tens of thousands of pics. After you kill a good chunk of duplicates, spend a bit of time organizing:
-
Go to Albums > “+” > New Album.
-
Make a few high level albums:
- “Family”
- “Trips”
- “Work / Docs”
- “Random / To Sort”
-
When you’re bored (line at Starbucks, etc.), open “All Photos”:
- Tap Select, choose some pics, Add To > put them in the right album.
- You’re not deleting anything here, just grouping so things are easier to find.
You do not need to organize everything perfectly, but a few big buckets make it much less painful to live with a large library.
6. Actually free up storage, not just “fake delete”
People forget this part:
- After you’re done merging, batch deleting, and using any cleaner app:
- Photos > Albums > Utilities > Recently Deleted.
- Tap Select > Delete All.
Until you do that, all your “deleted” stuff is still eating space for about 30 days, which is probably why your phone still feels slow and full.
7. Quick weekly routine so it doesn’t explode again
Takes 5–10 minutes:
- Open Duplicates and merge anything new.
- Run Clever Cleaner App every few weeks if you take a ton of pics or bursts.
- Clear Recently Deleted.
- Occasionally check Settings > General > iPhone Storage > Photos to see if it’s ballooning again.
And for your original topic, a cleaner, search‑friendly version:
How to clean up duplicate photos on iPhone step by step
Learn how to remove thousands of duplicate photos from your iPhone after years of iCloud backups, imports, and phone upgrades. This guide walks you through backing up safely, finding and deleting duplicated batches of photos, using smart tools like the Clever Cleaner App to detect similar images, and changing your settings so you stop creating new duplicates in the future. It also covers how to free up real storage by clearing Recently Deleted, organizing your albums so you can find photos faster, and setting up a simple weekly routine to keep your photo library fast, tidy, and manageable.
Skip the guilt. Everyone’s photo library is a crime scene after a few iCloud cycles.
Since @shizuka already hit the built‑in Duplicates flow, I’ll come at this from the “long‑term hygiene” angle and a bit of “don’t touch that yet.”
1. Decide what your master library actually is
Biggest mistake I see: people treat iPhone, Mac, and some old external drive as equals. Pick one master:
- If you live on your phone:
Make iCloud Photos on iPhone the master and stop importing stuff into Photos on your Mac manually. - If you’re more desktop‑centric:
Make Mac Photos library the master and let the phone just mirror it.
Once you decide, anything that conflicts with that is “guilty until proven innocent.” That makes deletion decisions faster.
2. Use sorting tricks Apple hides in plain sight
Inside Photos on iPhone:
- Go to Library > All Photos.
- Tap the three dots top‑right > Filter.
- Toggle to show only:
- Photos (hide videos for now)
- Or only videos (clean these in a separate pass)
Then:
- Scroll to a period where you know a duplicate mess happened, like right after a new phone setup.
- Use Select > drag across rows and watch for obvious repeat patterns. Often, the same set of shots appears twice with only a few minutes’ gap.
This is faster than staring at the Duplicates album, and you keep more control than what @shizuka’s flow implies.
3. Use a cleaner app, but treat it like a power tool
The Clever Cleaner App is useful here, especially once Apple’s Duplicates album runs out of low‑hanging fruit.
Pros:
- Finds similar photos, not just perfect matches. Great for bursts, 15 nearly identical selfies, or multiple exports.
- Lets you preview groups so you can keep the best shot and dump the rest.
- Can cut thousands of items way faster than manual swiping.
Cons:
- If you get trigger‑happy with “similar” detection, you can delete variants you actually wanted, like edited vs original.
- Needs a bit of attention the first few runs so you train yourself on what its suggestions look like.
- Very large libraries can take a while to scan and may heat your phone while it crunches.
My rule:
First passes = exact duplicates only.
Second passes = “similar” groups, but only when you have actual time to review.
4. Do not fully trust “Recently Deleted” as your safety net
I actually disagree slightly with both relying too much on backups and on “Recently Deleted” like @shizuka suggested indirectly.
- Backups are great, but restoring a 60k mess just to recover 20 photos is painful.
- “Recently Deleted” keeps stuff 30 days, which also means:
- Your storage looks full.
- You get scared to delete more.
What I do:
- Before a big cleanup session, take one good backup (iCloud or a Mac).
- During cleanup, periodically check Recently Deleted and:
- Recover only if you immediately realize you nuked something important.
- Then Delete All once you are confident in that batch.
Think of the backup as your emergency parachute and Recently Deleted as a short‑term undo button, not a long‑term archive.
5. Put future clutter on a leash
You stop duplicates by killing sources, not just cleaning symptoms.
Check:
- Scanner / document apps
Many save both to the app and Camera Roll. Disable saving to Photos if you do not need two copies. - Social apps “save original posts”
Instagram, TikTok and others can keep a local copy of every upload. Turn that off if iCloud Photos is already backing everything. - Shared albums
If you save photos from a shared album and keep the original messages, you will see “doubles” that are technically not duplicates but do feel like it. Pick one flow you actually use and drop the other.
6. Make a “review bin” album instead of overthinking
Deleting is stressful because it feels final even when it is not. To speed yourself up:
- Create an album called “Review & Maybe Delete”.
- Any photo you think you’ll want to delete but hesitate about, just Add to Album first instead of killing it.
- Once a month, open that album and purge it more aggressively.
This turns a big emotional decision into a two‑stage process that is less scary and faster in the long run.
7. Minimal maintenance routine that actually sticks
Aim for something you can do half‑asleep:
Weekly:
- Open Duplicates and clean obvious stuff.
- Run Clever Cleaner App in “exact duplicate” mode.
- Nuke Recently Deleted.
Monthly:
- Do one focused 10–15 minute pass on a specific year or trip.
- Trim old screenshots by going to Albums > Media Types > Screenshots and wiping in bulk.
You do not need a perfect library. You just need one that does not actively fight you every time you scroll.