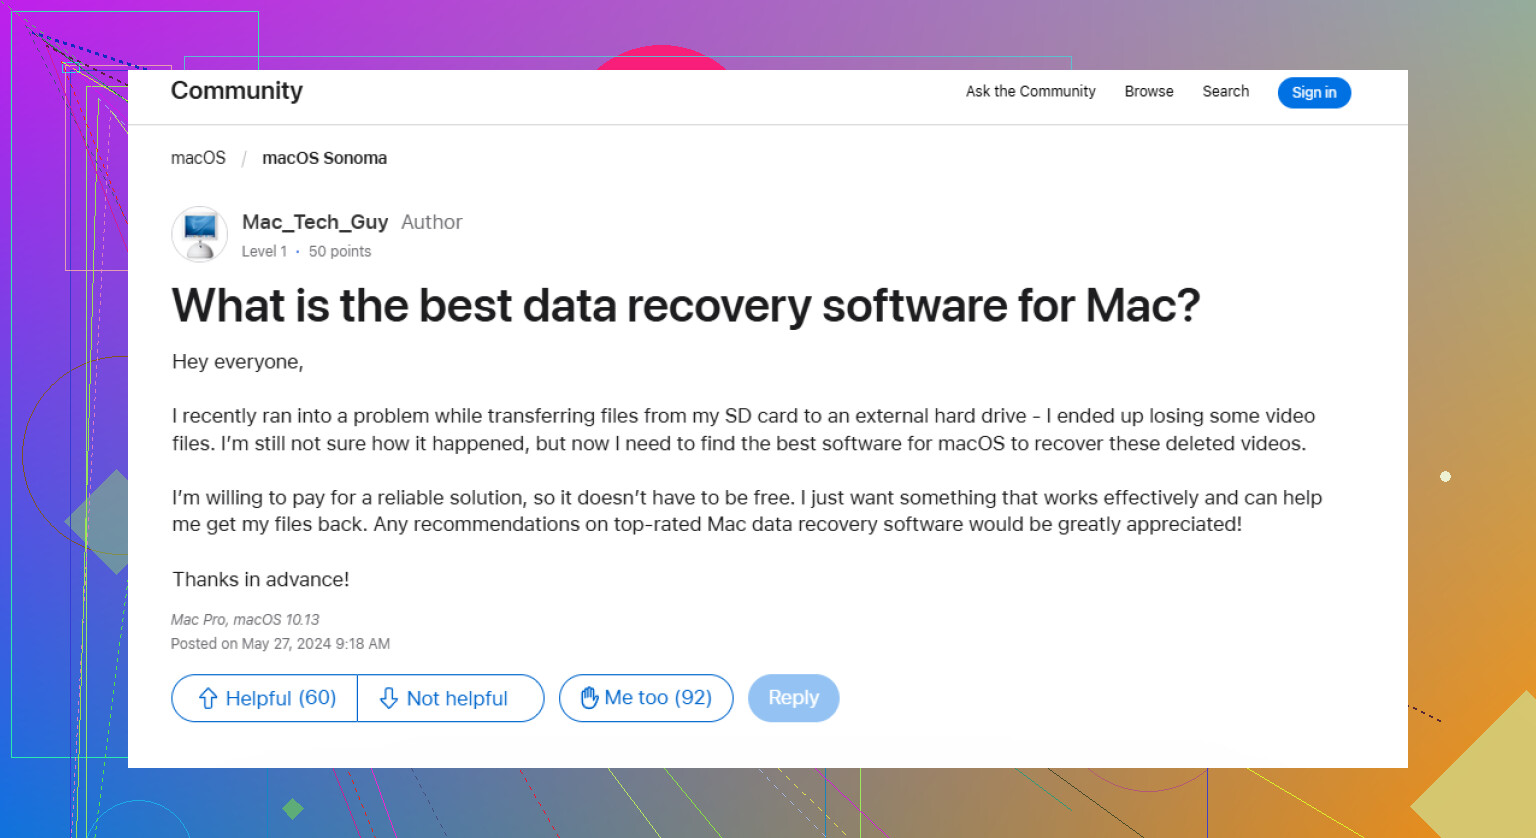
My Mac stopped booting, and I need to recover important files from the hard drive, including documents and photos. I’m looking for the safest way to retrieve data from a Mac hard drive without making the damage worse or losing anything permanently.
First thing: stop writing anything to that drive. That matters more than which recovery app you use.
When a file is deleted, or even when a drive is formatted, the data is not always wiped right away. A lot of the time macOS just marks that space as free. The file may still be sitting there until new data lands on top of it.
If this was an external drive, unplug it for now. If it was your Mac’s internal drive, use the computer as little as possible. Don’t install apps, download anything, copy files over, or keep working like normal. Even background activity can write new data and make recovery harder.
Check the easy places first
Start with the regular Trash. If the files were on an external drive, also check the hidden Trash folder on that drive:
- Connect the external drive and open it in Finder.
- Press Shift + Command + Period to show hidden files.
- Look for a folder named .Trashes.
- Open it and see if your files are there.
- If you find them, right-click and choose “Put Back.”
Try Time Machine before scanning
If Time Machine was already turned on before the files disappeared, use that next. Open Time Machine from the menu bar, go back to a date when the files still existed, select what you need, and click “Restore.”
If there’s no backup, use recovery software carefully
If the Trash is empty and Time Machine does not have the files, recovery software is usually the next reasonable option before paying for a lab.
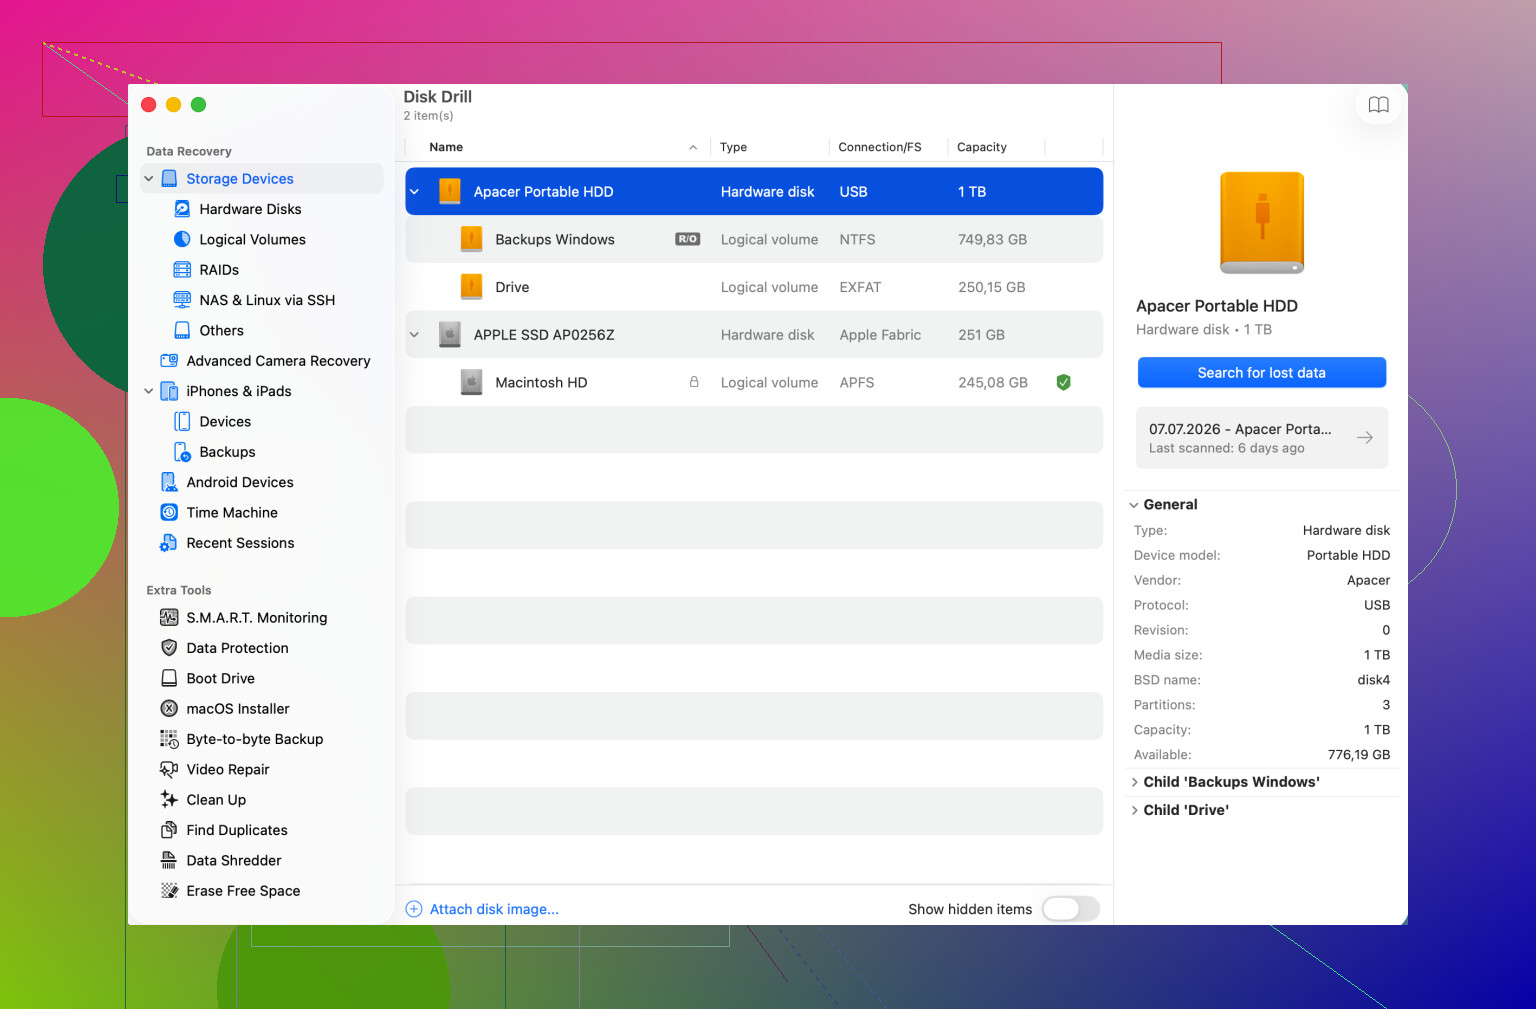
Disk Drill is one example for Mac recovery. It can scan APFS and HFS+ drives, look for recoverable file records, and also identify files by their internal signatures when names or folders are missing or damaged.
Do not install the recovery app on the drive you are trying to recover from. Install it somewhere else, and recover the files to a separate drive too. Saving recovered files back onto the same disk can overwrite other data you still need.
If the drive seems unhealthy, image it first
If the drive is freezing, disconnecting, running very slowly, or randomly disappearing, do not keep scanning it over and over. Make a byte-for-byte disk image first if the software gives you that option, then scan the image instead of the physical drive.
That gives you a fixed copy of the drive’s current state and puts less stress on hardware that might be failing.
Stop completely if it sounds physically damaged
Clicking, grinding, repeated spin-up sounds, or strange whirring can mean a mechanical problem. In that case, stop running recovery tools. Disconnect the drive and talk to a professional data-recovery lab. Software cannot fix physical damage, and continuing to power the drive can make things worse.
Once you get the files back, set up backups so this is not a one-shot situation again. Time Machine is good for a local backup, and a cloud backup gives you an off-site copy.
Right now the short version is: stop using the drive, check Trash and Time Machine, make an image if the drive is acting unstable, and recover anything found to a different storage device.
8 Likes
Don’t pull the drive yet.
On a lot of newer Macs, especially T2 and Apple silicon models, the internal storage is tied into the Mac’s security hardware. If the Mac itself is dead, taking the SSD out usually is not the magic shortcut people expect. You may need the Mac to power on enough to use Recovery, Target Disk Mode, or Share Disk, plus the admin/FileVault password if encryption is on.
If it powers on but won’t boot macOS, I’d try the low-impact route first: boot to Recovery and see if Disk Utility can see the volume. Don’t run erase or reinstall. If the volume mounts, copy the important folders to an external drive right there. If you have another Mac, Target Disk Mode on Intel Macs or Share Disk on Apple silicon can sometimes let the broken Mac show up like an external drive.
Recovery apps like Disk Drill make more sense when the drive is readable but the files are missing, the directory is damaged, or the volume won’t mount cleanly. They are not a fix for a Mac that cannot detect its own storage. I agree with the earlier warning about not writing to the disk, but I’d be even more cautious with a non-booting internal Mac drive: figure out whether it’s a startup problem, encryption/login problem, or hardware problem before scanning anything for hours.
Do not let macOS “fix” the disk before you have a copy of the data.
Disk Utility’s First Aid is usually safe, but on a failing or corrupted drive it can still change the file system while trying to repair it. If the files matter more than getting the Mac booting again, treat recovery as the goal and repair as a later problem. The order I’d use is: see if the volume is visible, mount it read-only if you can, copy the most important folders first, then worry about full scans or repairs.
A small detail people forget: don’t start with the whole Photos library if there are a few documents you absolutely need. Grab the irreplaceable stuff first. A scan can take hours, a bad drive can get worse during that time, and a huge Photos library can waste the window you had to recover smaller critical files.
Disk Drill or similar tools can be useful if the drive still shows up, but I would not make that the first move on a Mac that is unstable or randomly shutting down. If the Mac is an older model with a removable drive, an external enclosure or dock connected to another Mac may be the cheapest path. If it is a newer Mac with soldered storage, T2, or Apple silicon, you are mostly stuck working through the Mac itself or a repair shop. If the data is business-critical or the drive is making bad noises, skip the experimenting and get a quote from a recovery lab before the “free” attempts make it worse.